


Preparing for a Tesla fog light replacement involves safely parking and securing the vehicle, carefully prying off old panels and removing lights, cleaning the area, and precisely realigning and securing new panels with quality fasteners to enhance safety and visibility during low-light conditions while preserving vehicle aesthetics. Many seek professional autobody expertise for precise alignment post-damage or modifications.
Looking to upgrade your Tesla’s visibility with a fresh set of fog lights? This comprehensive guide walks you through the simple, step-by-step procedures for a successful Tesla fog light replacement and panel refit. We’ll show you how to safely remove the old components, install new ones, and securely reattach the panels—all without complicating your drive. Get ready to enhance your Tesla’s nighttime safety and style with this easy DIY project focused solely on Tesla fog light replacement.
- Remove Old Fog Lights and Panels
- Install New Fog Light Components
- Reattach and Secure Panel Components
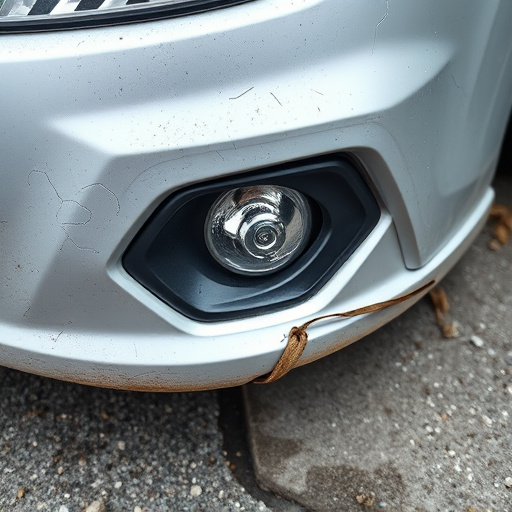
Remove Old Fog Lights and Panels

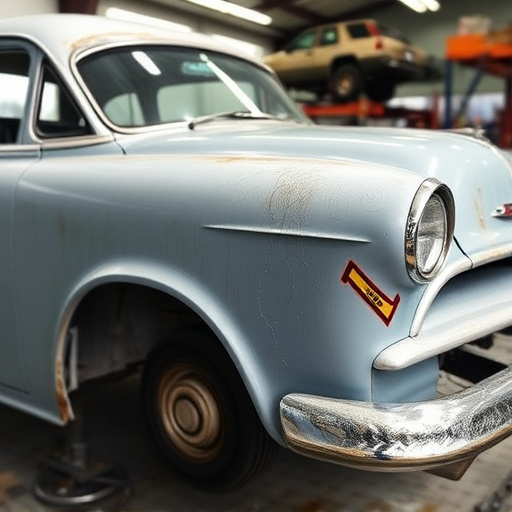
Removing old fog lights and panels is a crucial step in any Tesla fog light replacement process. Begin by ensuring your vehicle is securely parked on a level surface, engaging the parking brake for safety. With the correct tools at hand—including a screwdriver or panel popper—carefully pry off the existing fog light panels from their mounts. Take note of how they are attached to avoid damage during reassembly. Once the panels are removed, you’ll have access to the fog lights themselves.
Gently unclip or unscrew the old fog lights and set them aside for proper disposal or recycling. It’s essential to handle these components with care as they play a vital role in your Tesla’s safety features. After removing all the old parts, clean the area thoroughly to eliminate any debris or residue. This step ensures a smooth installation of new fog lights and panels, contributing to the overall quality of your luxury vehicle repair.
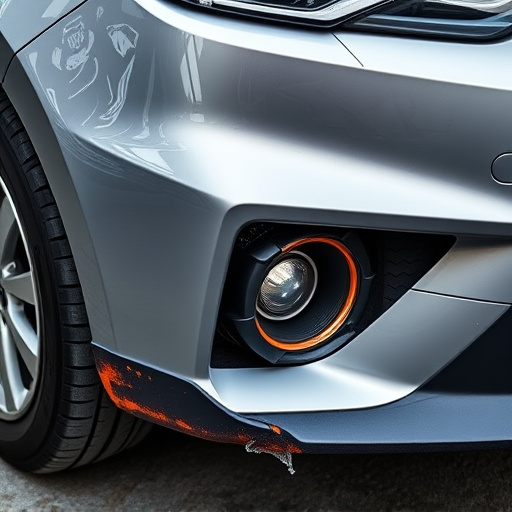
Install New Fog Light Components
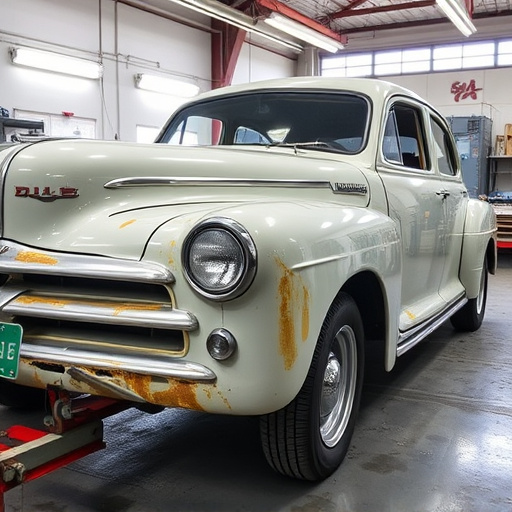
When undertaking a Tesla fog light replacement, it’s essential to install new components with precision and care. Start by removing the old fog lights carefully, taking note of any hardware or mounting clips used. Ensure all parts are safely secured during this process to avoid damage. Next, clean the mounting areas thoroughly, removing any dirt, debris, or rust that may have accumulated over time. This step is crucial for a seamless fit and optimal performance.
With the mounting surfaces prepared, it’s time to install the new fog light components. Ensure you have all the necessary hardware and follow the manufacturer’s instructions closely. Many Tesla owners choose to visit a reputable car body shop or autobody repairs center for this process, as frame straightening expertise can be beneficial in ensuring a perfect fit, especially if there has been any previous damage to the vehicle’s panel. This meticulous approach guarantees not only enhanced visibility during foggy conditions but also preserves the overall aesthetics of your Tesla.
Reattach and Secure Panel Components
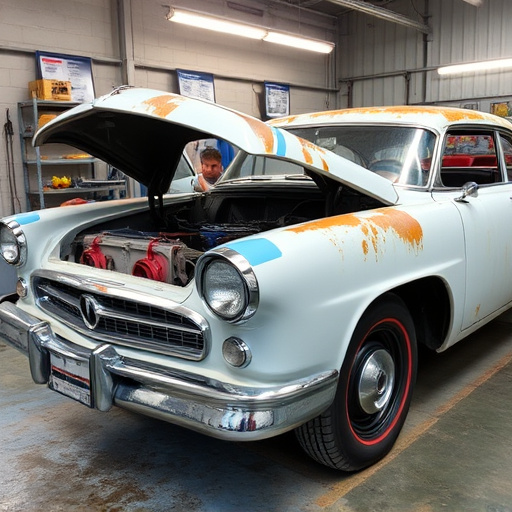
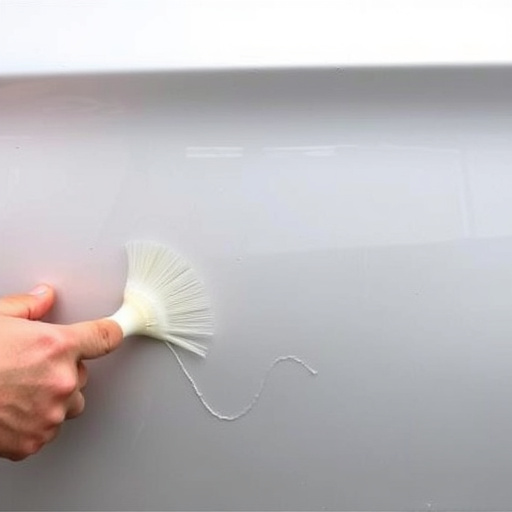
After removing the old fog lights and their panels, it’s time to reinstall the components for a seamless Tesla fog light replacement. Begin by inspecting the existing panel for any signs of damage or wear. Clean the area thoroughly using appropriate automotive restoration tools to ensure a secure bond. Reattach the panel with precision, aligning it perfectly over the fog light opening. Use high-quality fasteners suitable for automotive body work to secure the panel in place. This step is crucial for maintaining the integrity of your Tesla’s design and ensuring optimal performance during driving conditions.
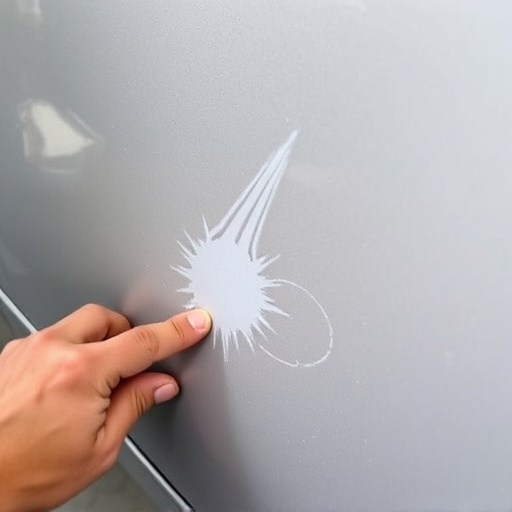
Properly securing the panel not only enhances the aesthetics but also guarantees a safe and effective installation of new fog lights, thereby improving your vehicle’s overall visibility during low-light or foggy conditions. Remember, auto maintenance involves regular attention to such details, ensuring your Tesla remains in peak condition for years to come.
Replace your outdated Tesla fog lights and panels with ease by following these straightforward steps. First, carefully remove the old components, then install the new fog light parts, ensuring a secure fit. Finally, reattach and secure the panel pieces, enhancing your Tesla’s nighttime visibility and overall aesthetics. This simple DIY process can significantly improve safety and style for your electric vehicle.