


Tesla fog lights aid visibility in low-visibility conditions but can face issues like burning out or sensor malfunctions. Regular checks and Tesla fog light replacement are vital for safety. Replacing them requires careful precision, protecting against shocks, testing functionality, and addressing sensor interference from damage or debris. Timely maintenance prevents future problems during low-visibility driving.
Thinking of upgrading your Tesla’s lighting system? You’ve come to the right place. This guide delves into the world of Tesla fog light replacement, addressing common issues and providing a detailed step-by-step process for a safe and successful install. We also break down front sensor interference problems, offering solutions for a seamless driving experience. Take control of your Tesla’s visibility and safety with expert advice tailored for DIY enthusiasts and car care professionals alike. Learn how to achieve optimal performance with a fresh set of fog lights!
- Understanding Tesla Fog Light Functionality and Common Issues
- Step-by-Step Guide: Replacing Fog Lights Safely
- Diagnosing and Resolving Front Sensor Interference Problems
Understanding Tesla Fog Light Functionality and Common Issues
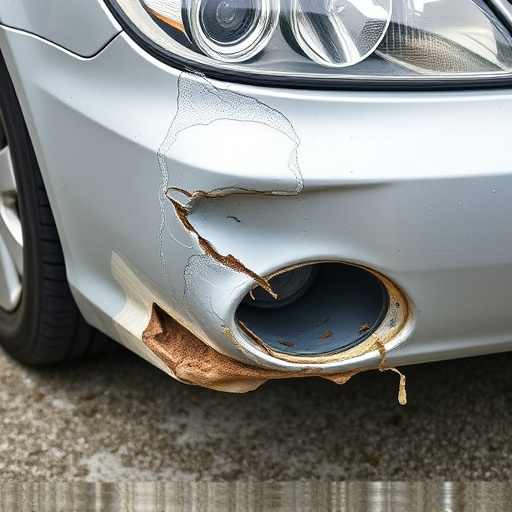
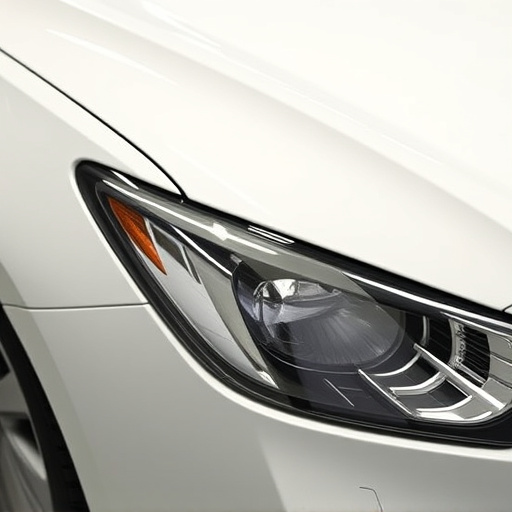
Tesla fog lights are designed to enhance visibility during low-visibility conditions, such as heavy rain, snow, or fog. They work in conjunction with the vehicle’s sensors and headlights to provide a clear, well-lit path ahead, ensuring safer driving. However, like any component, they can encounter issues over time that may require a Tesla fog light replacement. Common problems include burning out, inconsistent brightness, or failure to turn on altogether, often stemming from power supply issues, faulty wiring, or sensor malfunctions.
Regular checks of the front sensors and fog lights are crucial. Interference from other components or external sources can cause disruptions in their functionality. An auto repair shop may recommend periodic inspections to verify proper operation, especially if there are signs of damage or unusual behavior. During these checks, they can also perform auto glass replacement or auto glass repair, as a cracked or damaged fog light lens can impact visibility and should be addressed promptly for safety reasons.
Step-by-Step Guide: Replacing Fog Lights Safely
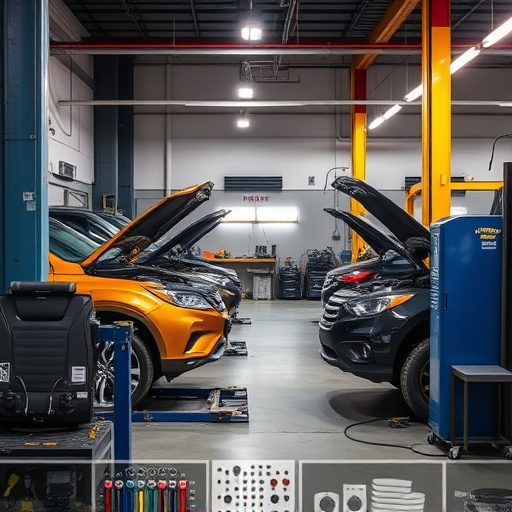
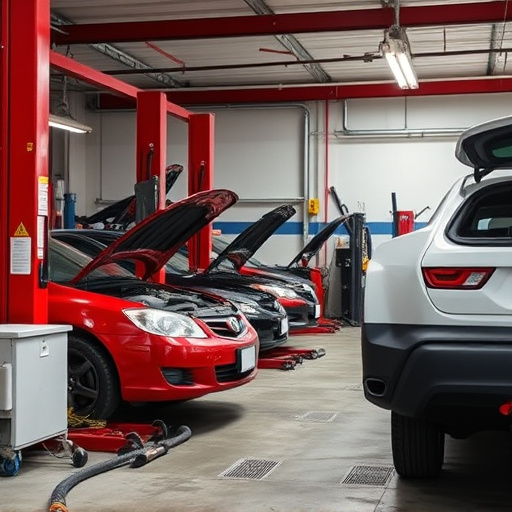
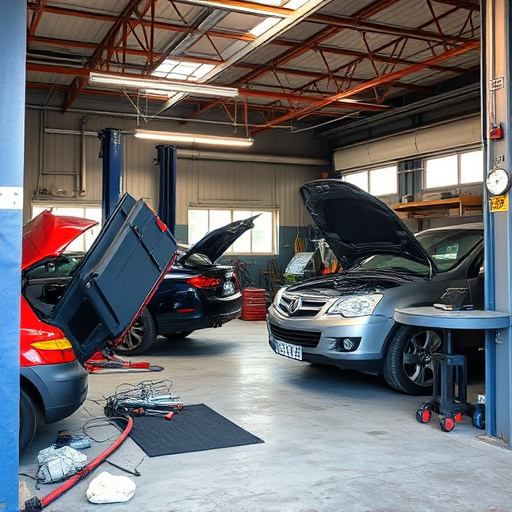
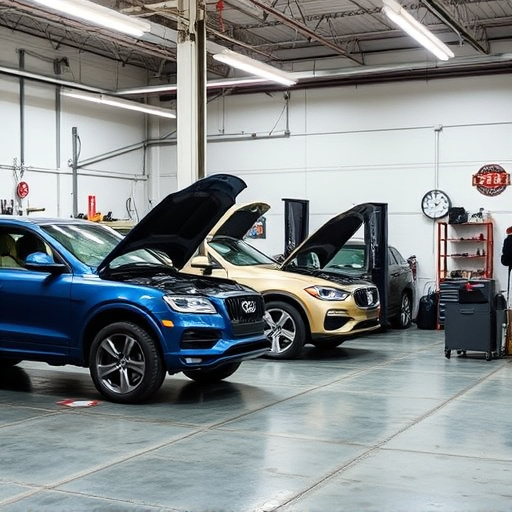
Replacing Tesla fog lights is a straightforward process but requires precision to avoid any interference with the front sensors. Here’s a step-by-step guide for a safe and successful Tesla fog light replacement.
1. Safety First: Ensure your vehicle is parked on a level surface, engage park brake, and turn off the ignition. Remove the keys from the ignition to prevent accidental starts while working. Protect yourself with safety goggles to shield against any debris or parts that might fly out during the process.
2. Locate and Identify: Tesla fog lights are typically positioned below the headlights on either side of the grille. Use a flashlight to inspect them closely. If you notice any signs of damage, cracks, or excessive wear, it’s time for a replacement. Verify that your new fog lights match the old ones in terms of specifications and compatibility to ensure optimal sensor performance.
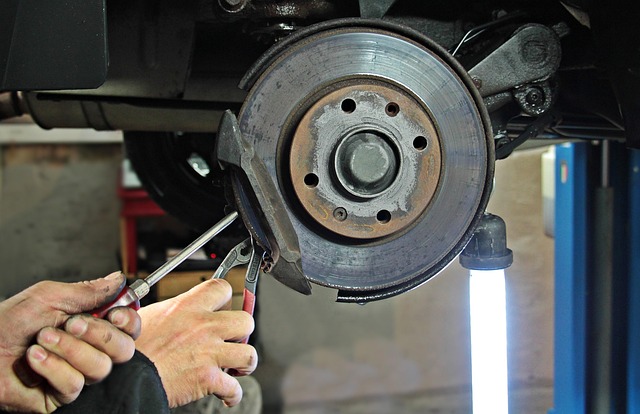
3. Disconnect Power: Before you begin, disconnect the negative battery cable to prevent electrical shocks and short circuits. This is a crucial step in any vehicle repair, especially with modern cars equipped with sensitive electronics.
4. Remove and Replace: Using a suitable tool, carefully remove the fog light housing. The process may vary slightly depending on your Tesla model but generally involves unscrewing or unclipping retainers. Take note of how the old fog light is secured for easy reinstallation later. Install the new fog light by following the reverse steps, ensuring it’s securely fastened.
5. Re-attach and Test: Securely reconnect the negative battery cable and check for any loose connections. Turn on your Tesla and test the fog lights at low beam to ensure they function correctly without interfering with front sensors, which are vital components in collision damage repair and safety systems of modern classic car restoration projects.
Diagnosing and Resolving Front Sensor Interference Problems

Diagnosing front sensor interference problems involves a systematic approach. Start by inspecting the fog lights for any visible damage or debris that could be blocking the sensors’ line of sight. Tesla fog light replacement might be necessary if the existing bulbs are burned out or cracked. Ensure the sensors themselves are clean and free from dirt, grime, or corrosion. A simple cleaning with compressed air can often resolve this issue.
If the problem persists, consider checking for loose connections at the sensor housing. Tighten any loose wires or connectors to ensure optimal signal transmission. In cases where the sensors have suffered from hail damage repair or automotive collision repair, they may need to be replaced altogether. Regular maintenance and timely repairs are key to preventing front sensor interference issues that could impact vehicle safety features, especially during low-visibility conditions.
Replacing Tesla fog lights and resolving front sensor interference is a crucial task for owners aiming to maintain optimal visibility and safety. By understanding the functionality of these lights and following a structured approach, you can ensure a successful replacement process. Remember, a well-maintained lighting system is key to navigating through various driving conditions, so don’t overlook these essential checks and replacements. With this guide’s help, you’ll be equipped to tackle Tesla fog light replacement and front sensor interference like a pro.