


The Tesla fog light system, powered by LED lights and sensors, automatically adjusts for low-visibility conditions. Before replacing, prepare tools, parts, and ensure vehicle safety. Replace fog lights with careful execution, unplug connectors, remove old lights, install new ones, reconnect connectors, and test functionality. Issues may require professional auto body or paint repair.
Performing a Tesla fog light replacement is a relatively straightforward process that can significantly enhance your vehicle’s safety during low-visibility conditions. This step-by-step guide will walk you through understanding your Tesla’s fog light system, gathering the necessary tools and parts, and safely replacing the fog lights. By following these instructions, you’ll ensure optimal performance and peace of mind on the road.
- Understand Your Tesla's Fog Light System
- Gather Necessary Tools and Parts
- Step-by-Step Guide to Safe Replacement
Understand Your Tesla's Fog Light System

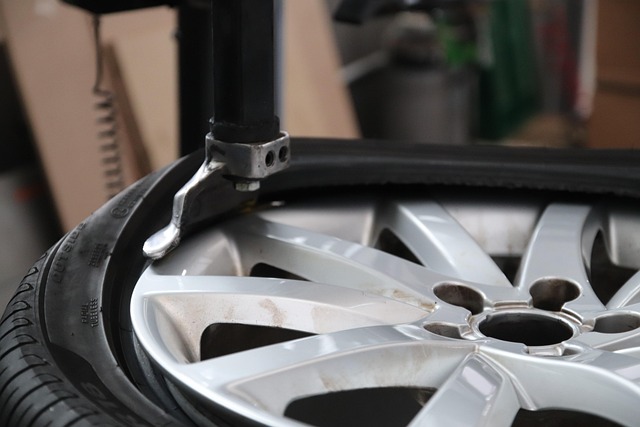
The Tesla fog light system is a sophisticated piece of automotive technology designed to enhance visibility during low-visibility conditions. It’s crucial to understand how it operates before attempting any Tesla fog light replacement or repair. This system typically consists of powerful LED lights, sensors, and control modules that work in harmony to provide optimal illumination when needed. The fog lights are strategically positioned at the front of the vehicle, activating automatically when sensors detect certain weather conditions like heavy rain, mist, or fog.
Understanding this system involves familiarizing yourself with its components and how they interact. This knowledge will help you choose the right replacement parts, ensuring compatibility and optimal performance. Whether you’re considering a DIY Tesla fog light replacement or consulting an auto body repair specialist for auto body work, having this understanding will contribute to a successful outcome, keeping your Tesla safe and well-lit on the road.
Gather Necessary Tools and Parts

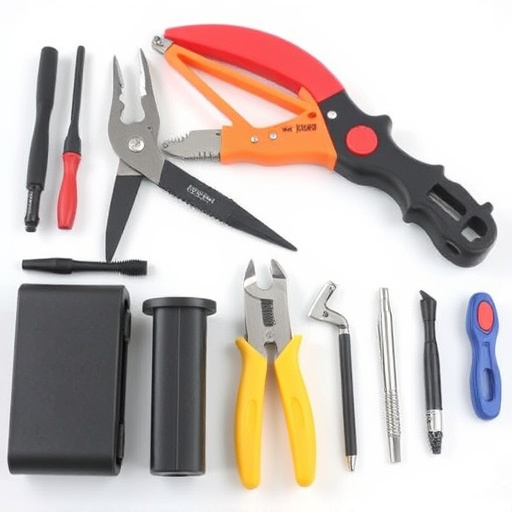
Before diving into the Tesla fog light replacement process, ensure you have all the necessary tools and parts. This includes a new fog light assembly, which is readily available from Tesla or authorized dealers. Also, gather basic automotive tools like socket sets, wrenches, screwdrivers, and pliers. For safety and precision, consider using a paintless dent repair kit to address any minor dents or scratches around the fog light area, as this can enhance the overall aesthetic once the replacement is complete.
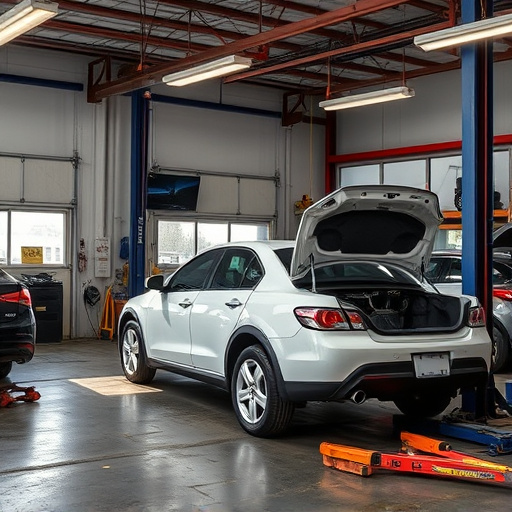
In addition to these essentials, have a set of protective gloves, safety glasses, and a mask ready. These precautions are crucial when working with automotive parts, especially considering the potential for debris or harmful chemicals. Lastly, make sure your vehicle is parked in a secure, level area to avoid any accidents during the replacement process, which can be a delicate procedure involving intricate autobody repairs.
Step-by-Step Guide to Safe Replacement

Performing a Tesla fog light replacement is a straightforward process but requires attention to detail and safety precautions to avoid damaging your vehicle. Here’s a step-by-step guide to ensure a safe and successful replacement.
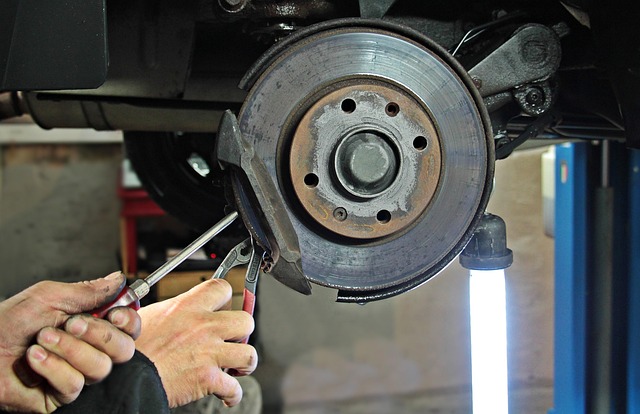
1. Gather Necessary Tools and Parts: Before you begin, make sure you have the correct replacement fog lights for your Tesla model, along with any required tools such as a socket wrench, screwdrivers, and protective gloves. Keep your workspace clean and well-lit for better visibility.
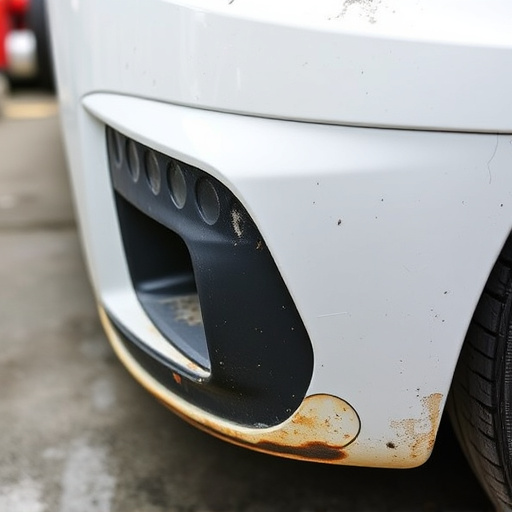
2. Unplug and Remove: Start by locating the fog light assembly on your Tesla. Unplug the electrical connector to prevent short circuits or accidents while working. Remove the existing fog light by loosening the screws or bolts securing it in place, being careful not to damage any surrounding components. Once removed, inspect the housing for any signs of cracks or damage that might require autobody repairs or car paint repair.
3. Install New Fog Light: Position the new fog light carefully within the housing and secure it with the appropriate screws or bolts. Ensure all connections are tight but avoid excessive force to prevent damaging internal parts. Reconnect the electrical connector, verifying proper functionality before closing any gaps or securing any remaining components. Remember, if you encounter any car damage repair issues during disassembly or assembly, it’s best to seek professional help.
Performing a Tesla fog light replacement is a manageable task with the right knowledge and tools. By understanding your vehicle’s specific fog light system, gathering all necessary parts, and following a detailed step-by-step guide, you can replace your fog lights safely and effectively. Remember to prioritize safety throughout the process and consult professional assistance if needed. With these steps, you’ll have your Tesla’s fog lights working like new in no time, enhancing your driving experience during low-visibility conditions.