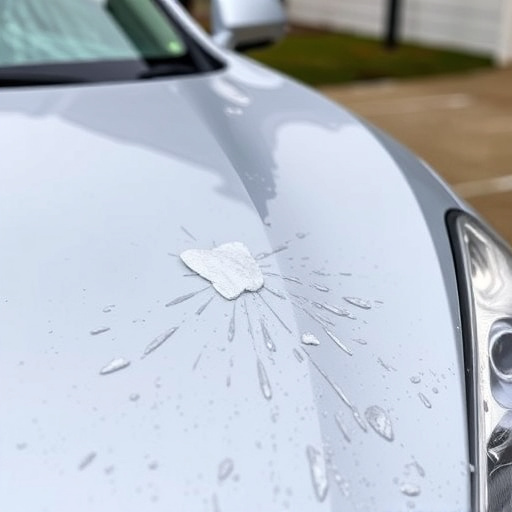


Tesla fog light replacement is crucial for enhanced road safety in low-visibility conditions. Debris, worn bulbs, or defects can impair fog lighting. High-quality LED replacements offer increased brightness, longer life, and energy efficiency. Professional services ensure optimal lighting performance. DIY installation improves visibility, boosting confidence during foggy or dimly lit driving.
Facing poor road visibility during foggy conditions? You’re not alone. Many Tesla owners struggle with outdated or malfunctioning fog lights. This guide dives into the common issues plaguing Tesla’s fog lighting system and highlights the benefits of a replacement. We provide a step-by-step tutorial to help you navigate the process, ensuring improved safety and clarity on your next drive through misty conditions. Discover how a simple Tesla fog light replacement can make all the difference.
- Understanding Tesla Fog Light Issues
- Benefits of Replacing Fog Lights
- Step-by-Step Guide to Replacement
Understanding Tesla Fog Light Issues

Many Tesla owners often face challenges with their vehicle’s fog lights, which can significantly impact road safety and visibility during low-visibility conditions. Issues may arise due to various factors, such as debris accumulation, worn-out bulbs, or manufacturing defects. Over time, the fog lights may lose their brightness and efficiency, hindering the driver’s ability to see clearly on foggy or cloudy nights.
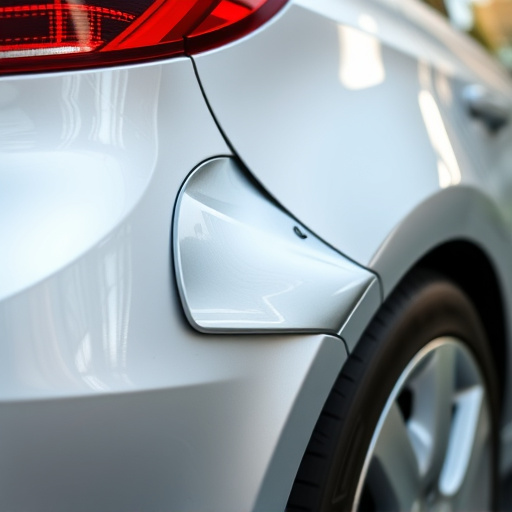
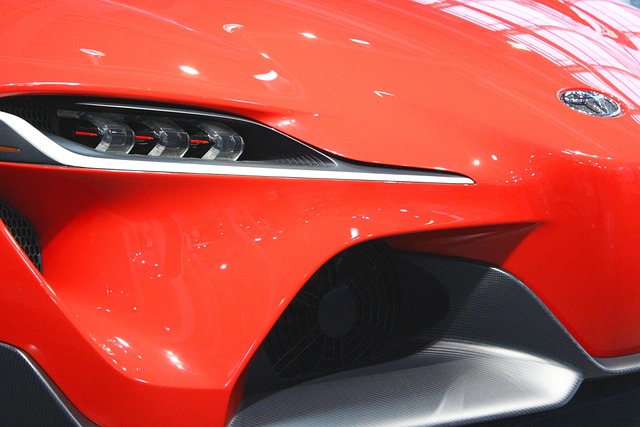
A Tesla fog light replacement is a common solution for these problems. It involves swapping out the faulty or outdated fog light bulbs with new, high-quality alternatives designed specifically for Tesla models. This simple yet effective upgrade can make a world of difference in enhancing road visibility during adverse weather conditions. Moreover, professional body shop services offering fender repair and dent removal can assist in ensuring that the replacement process is seamless and that your Tesla’s lighting system functions optimally.
Benefits of Replacing Fog Lights

Replacing Tesla fog lights can significantly enhance road safety and visibility during low-visibility conditions like heavy fog or light rain. Fog lights, designed to cut through dense fog, improve a driver’s awareness of the road ahead, helping them navigate more confidently and safely. With improved illumination, drivers can spot potential hazards such as hidden potholes, uneven road surfaces, or other vehicles more easily, reducing the risk of accidents.
A Tesla fog light replacement isn’t just about better visibility; it’s also a smart investment in your vehicle’s overall safety. Over time, fog lights can degrade due to normal wear and tear, resulting in dimmed or flickering light output. By replacing them promptly, you ensure optimal performance when it matters most. Moreover, modern replacement fog lights often come with advanced features like LED technology, which offers longer lifespan, better brightness, and energy efficiency compared to traditional halogen bulbs—a benefit that extends beyond improved road visibility into everyday driving conditions and even the automotive body work required in case of a collision at a nearby collision center.
Step-by-Step Guide to Replacement

Replacing your Tesla’s fog lights is a straightforward process that can significantly enhance road visibility during low-light conditions. Here’s a step-by-step guide to help you through the Tesla fog light replacement process.
1. Prepare Your Workspace: Park your Tesla in a well-lit area, ensuring easy access to the front of the vehicle. Gather all necessary tools, including your new fog lights, a jack, and jack stands for safety.
2. Disconnect Power: Before beginning any work on your Tesla, it’s crucial to disconnect the power. Locate the battery compartment and turn off the ignition. Use a suitable voltage tester to confirm that no power is flowing to the fog light circuit.
3. Remove the Existing Fog Lights: Using a socket wrench or screw driver (specific to your model), carefully remove the screws securing the fog lights in place. Next, unplug the electrical connectors from behind the housing. Once these steps are complete, gently pull the fog lights out of their mountings.
4. Install New Fog Lights: Align the new fog lights with the existing mounting holes and ensure they fit snugly. Secure them with the appropriate screws, tightening them hand-tight first, then using a wrench for full torque. Reconnect the electrical connectors and test the lights to confirm proper function.
5. Lower the Vehicle: Carefully lower your Tesla from the jack stands and tighten any remaining screws or bolts. Double-check all connections to ensure everything is secure.
Upgrading your Tesla’s fog lights is a straightforward yet impactful process, offering enhanced road visibility during low-visibility conditions. By replacing these lights, you not only improve safety but also ensure your Tesla maintains its cutting-edge aesthetic. With a simple step-by-step guide, the task is accessible for even the most amateur DIY enthusiasts. So, take control of your driving experience and give your Tesla the clarity it deserves on the road with a hassle-free Tesla fog light replacement.